
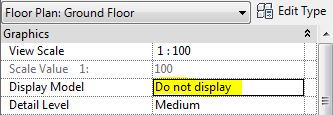
View "Display Model"
The default setting for this property is "Normal", which displays both 3D model elements and 2D annotation, so you don't necessarily know which is which.

One very common problem I find with dodgy Revit models is that people have 'drawn' floor penetrations using model lines rather than using shaft openings, or even worse, have used detail lines, which would only show in that view.
If you select across the whole model and filter out everything except lines, you can at least tell which ones are lines - but not which are model vs detail lines. This is where the 'Display Model' property comes in handy:
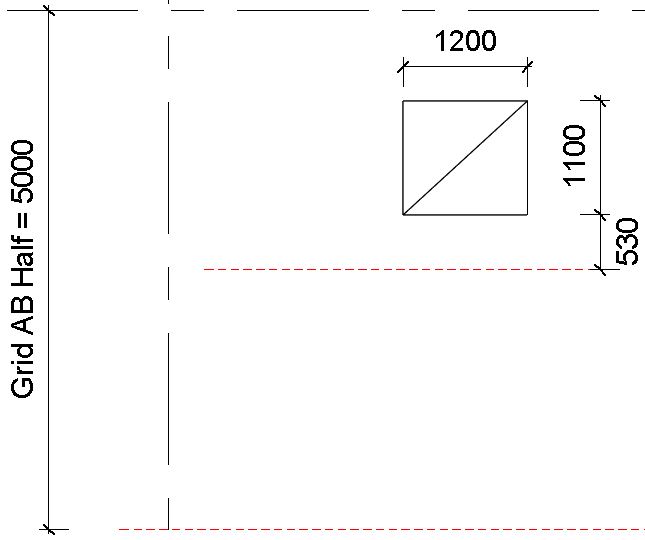
Set it to 'Do Not Display' and all the model elements are hidden
Interestingly, it keeps displaying grids & reference planes, which are neither model elements nor annotation - despite being lumped in with annotation on the Visibility Graphics dialog box. They are in fact what I call 'datum' categories.
One problem with this setting is that all the hosted annotation disappears too, so it is not easy to see things in context, nor can you be sure which hosted annotation is now hidden too. This does have an added benefit of being able to check for 'dummy tags' (generic annotation symbols) and text that has been placed to look like real tags - all the real tags are hidden, and what is left visible is fake (or garbage as far as BIM is concerned).
There is a third option, which is extremely useful: 'Halftone'

This displays the model elements in halftone, and all the annotation as normal. Now you can clearly see which lines are detail lines - they could be selected and converted to model lines, or better still, replaced by shaft openings.

As a 'Model Manager' you should be using this technique all the time to make sure that users are doing the right thing. However, it is important to remember to set the Display setting back to normal when finished - better still, set it to normal in the view template and use the 'Enable Temporary View Properties' setting to do a temporary over-ride, which will reset itself when you finish.

No comments:
Post a Comment